Check out these Viking project ideas! They’ll keep your kids learning and entertained for hours on end.
With so many kids’ cartoons based around Vikings going on epic adventures, fighting dragons and generally being awesome, when children learn about Vikings they (understandably) get quite excited. To help them grow and learn, there are a bunch of different and engaging Viking project ideas out there, and we have compiled the best of the best for this article!
While you’re here, check out these Ancient China project ideas!
Make a Papier-Mâché Viking Helmet
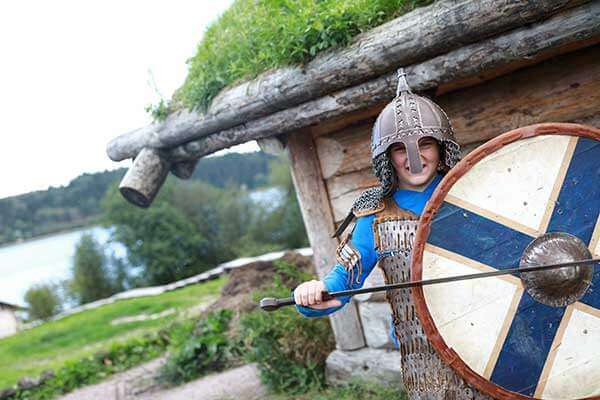
One of the coolest things you can create for your little Viking is their own helmet. This is quite easily done using papier-mâché, a project that every kid should do in their lives at least once.
What you’ll need:
- Newspaper
- Flour
- Warm water
- Large balloon
- Large bowl (to set the balloon in)
- Paints or markers
This project is pretty easy. First, you’ll want to blow up the balloon until it’s just as big as your child’s head. From there, you’ll want to place it in a bowl with the tied end facing down.
After mixing equal parts warm water and flour together to make your papier-mâché, take strips of newspaper — they don’t have to be cut, you can just rip them to size — and dunk them into the mixture. Then place them across the balloon and flatten them out. Continue to do this until the balloon is covered then let it dry overnight. The next day, you can pop the balloon, take out your helmet base and cut it to the shape of your child’s favourite Viking helmet. Then use paints or markers to add colour and detail!
Create Your Own Viking Shield Viking Project

What you’ll need:
- Cardboard
- Strong scissors or a box cutter
- Decorations such as paint, construction paper, tin foil, etc.
- Duct tape or painters tape
- A strip of fabric
- Metal-looking buttons
- Hot glue
To make your shield, first, you’ll need to create the body. For that, you will need to use your scissors or box cutter to cut a large circle out of the cardboard and then a smaller circle to go inside of it.
Decorate the circles using paper, paint, tin foil — whatever you want really. Once both are decorated, you will want to use hot glue to attach the fabric strip to the back of the large circle so that the shield has a handle. Then you can take the smaller circle and glue it to the front of the larger circle. You’ll want the smaller circle to look bolted on, so you can glue metal buttons around the perimeter to look like bolts. Once these two circles are attached, you’re done.
Have a look at these fun, free history printables
Make a Water Bottle Viking Boat
One of the most awesome things about the Vikings was their ships! Creating a Viking ship that floats on water is pretty amazing, and it’s not too challenging to do either! It’s fun to watch your boat float in your tub or kitchen sink.
What you’ll need:
- Two empty water bottles
- Foam paper in various colours
- A wooden skewer
- Scissors
- Glue
When you imagine (or Google) a Viking boat, they often have wooden dragons carved onto the front. You can make one of these out of foam paper, with a long, simplistic body to stick between the two bottles.
Once you have created your dragon, you will use it as a base to glue your bottles to, creating the bottom of your Viking ship. You’ll then need to take a piece of foam paper and wrap it around the bottles. You can then decorate the side of your boat with little foam shields if you’d like! For your flag, it’s as simple as cutting a square out of foam, decorating it, sticking the top and bottom through the skewer and then sticking that into the foam base of your boat. Congratulations, you’ve made a model Viking boat that should float on water!
Kids can learn all about the Vikings in our ninth adventure box. Begin your subscription today, and feed your kid’s love for history!


